
I’ve started my film photography journey since last December 2016. During the first few months, I’ve tried two types of film: which is Fujifilm Superia 200 and Agfa Vista 400. And by the way, I love color and I will always shoot color – don’t ask me why I haven’t tried the black & white film.
From my perspective – Fujifilm will create some greenish color tone meanwhile Agfa Vista is more towards warm color cast and it is easily fixed in the Photoshop or Lightroom. Since then, I’ve stick with Agfa Vista 400 as my main film for street photography because I love the color and tone that it’s produced.
From my perspective – Fujifilm will create some greenish color tone meanwhile Agfa Vista is more towards warm color cast and it is easily fixed in the Photoshop or Lightroom. Since then, I’ve stick with Agfa Vista 400 as my main film for street photography because I love the color and tone that it’s produced.
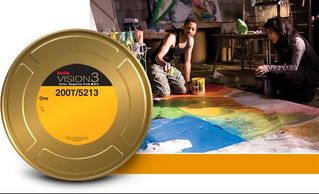
Recently I’ve seen many film photographers posting images that were shot with Kodak Vision3 film in the Facebook. As you all know, Kodak have stop developing their 35mm film for still photography for a quite some time already. And now they are more focused on developing film specifically for filmmakers – yes – a film that was design specifically for movies.
They have several types of film (you can see it all here) and the one that I’ve chose to shoot with is Kodak Vision3 200T (as the word “T” indicates Tungsten based color which works best with artificial lights).
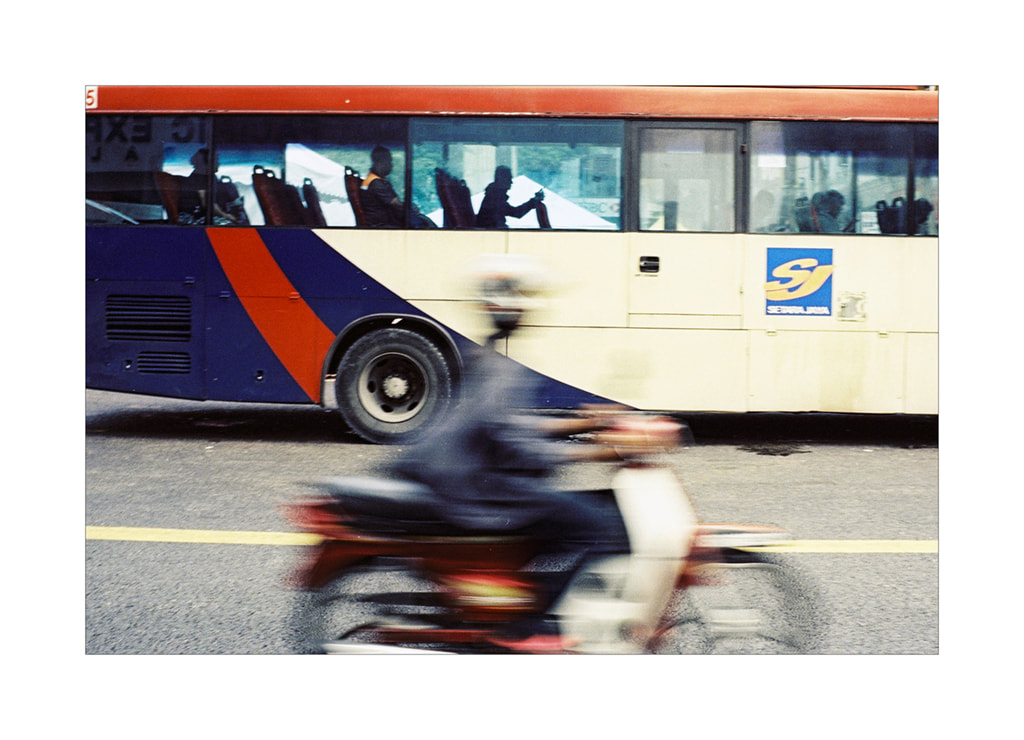
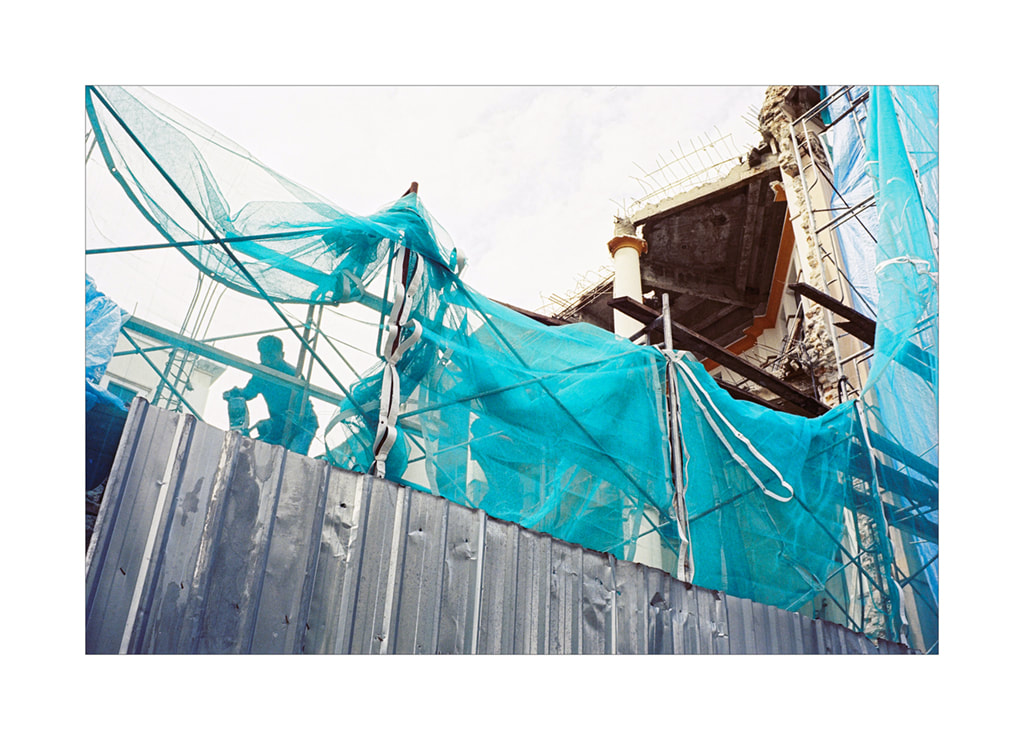
Since I’m going to use this film for street photography – during daylight – some people recommends me to use a color conversion filter such as 85B, but – for me – since this is my first try of using this film – I don’t find any good reason why I need to spend my money for a filter – because my main objective is only to try it out and see how is the result would be. So, I’m using this film as it is – without any filter attached to my lens and below is some of the shots from the film itself.
Note: The film WILL produced some yellowish color cast in the scanned images. Therefore, I have fixed the color using Photoshop to tone it down to fix my liking.
They have several types of film (you can see it all here) and the one that I’ve chose to shoot with is Kodak Vision3 200T (as the word “T” indicates Tungsten based color which works best with artificial lights).
Since I’m going to use this film for street photography – during daylight – some people recommends me to use a color conversion filter such as 85B, but – for me – since this is my first try of using this film – I don’t find any good reason why I need to spend my money for a filter – because my main objective is only to try it out and see how is the result would be. So, I’m using this film as it is – without any filter attached to my lens and below is some of the shots from the film itself.
Note: The film WILL produced some yellowish color cast in the scanned images. Therefore, I have fixed the color using Photoshop to tone it down to fix my liking.

© Hisham Ahmad, Jln Sultan, KL
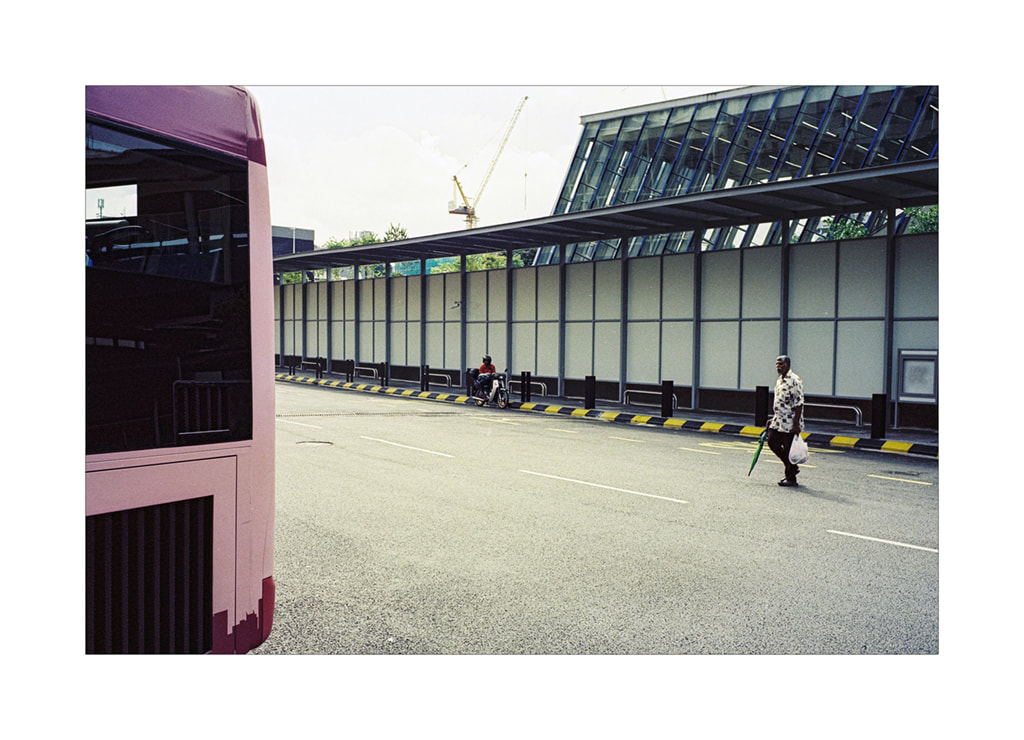
© Hisham Ahmad, Hub Bas Pasar Seni, KL
© Hisham Ahmad, Leboh Pasar Besar, KL
© Hisham Ahmad, Central Martket, KL
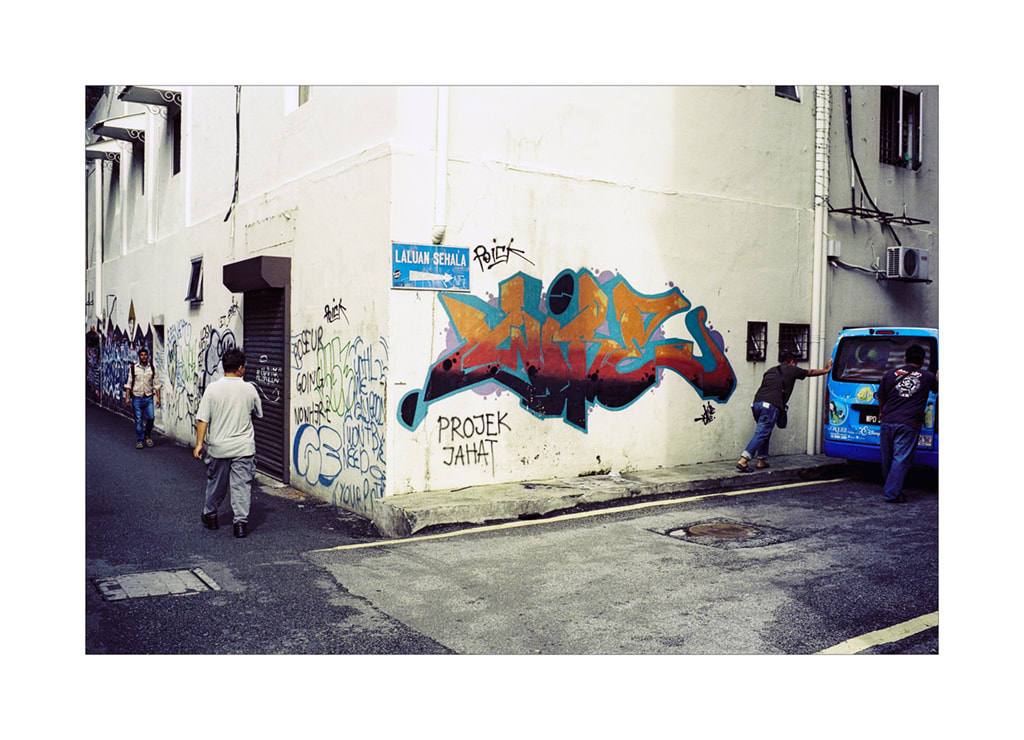
© Hisham Ahmad, Lorong Bandar 21, KL
What I like about this film?
What I don’t like about this film?
Will I continue shooting with this film?
If you like the tone it’s produced and really want to give this film a try, I am highly recommends you get it from Darkroom8. They also provide services to develop and scan your film as well.
Until then, see you in the next post!
- Once you’ve fix the color cast, the color tone will turn out very nice and clean.
What I don’t like about this film?
- Any white color objects will turn yellowish – eeww
- People skin color will also turn yellowish – I mean – very yellowish – double the eeww
Will I continue shooting with this film?
- Definitely not for me. This film does not fit into my shooting style.
If you like the tone it’s produced and really want to give this film a try, I am highly recommends you get it from Darkroom8. They also provide services to develop and scan your film as well.
Until then, see you in the next post!
 RSS Feed